
After our game basic system has already completed, now we can move on to game menu, level pick building up.
[divider]
Tutorial Information
- Difficulty: Beginner
- Platform used: Construct 2 (version r114)
- Estimated completion time: 2 hours
- Advanced requirement: Patience
[divider]
Build platforming game from scratch Series
- Part 1: Creating player and tiled platform
- Part 2: Creating token and game HUD
- Part 3: Parallax BG and Enemy AI
- Part 4: Game menu and level pick
[divider]
Part 4 Demo

[divider]
Assets Download
Graphic Assets
[wpdm_file id=19]
Project Base
[wpdm_file id=18]
Notes:
- I am the author of these graphic. Please contact me if you want to use this in any other project.
- If you have demand for graphic, I am open for commission. Contact me for more info.
[divider]
Step 1:
Set up Main Layout.
Let’s rename the current Layout 1 to Level 1 by right-click at Layout 1 in Projects Panel.
Name it Level 1.
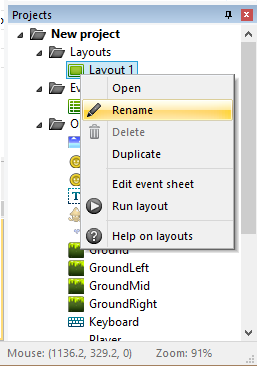
Do the same thing with Event Sheet 1 – rename it to Level 1 ES.
Now we can add new layout in order to make the menu window.
Right-click in Layouts folder in Projects panel.
A new window will pop up asking whether we want to create a Event Sheet for this Layout. We want that, so click Add event sheet.
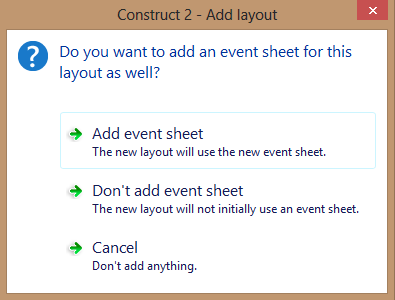
Rename the just-created Layout to Main, and the just-created Event Sheet to Main ES.
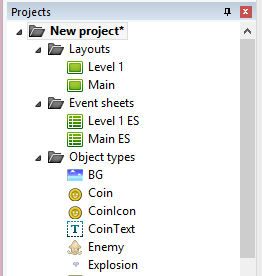
So we have a new layout for Game Start menu. Let’s add in components.
Go to Layout Main and make sure we are working on Layer0.
Drag BG sprite to the state and position it the position 0,0.
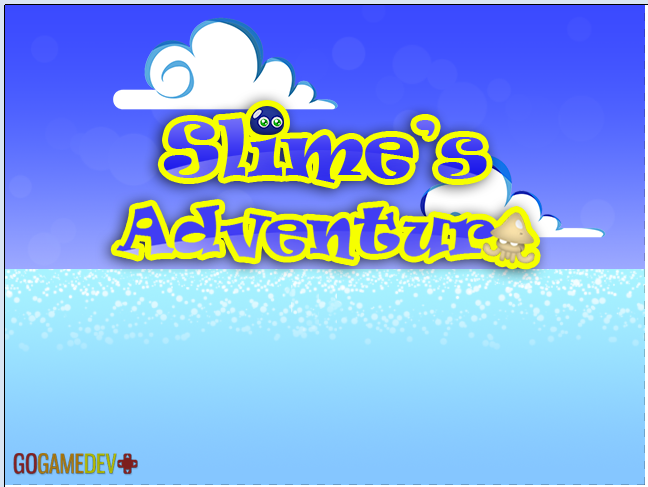
Still in Layer0, create a new sprite and import logo image to it.
- Double-click on the space of the scene.
- Pick Sprite/Insert.
- Double-click the sprite we just created.
- Select all the Coin Frames/ Open
- Click the open icon, browse to image: SlimeAdvLogo.png
- Close Edit Image window.
- In Projects Panel, edit its name from Sprite to Logo.
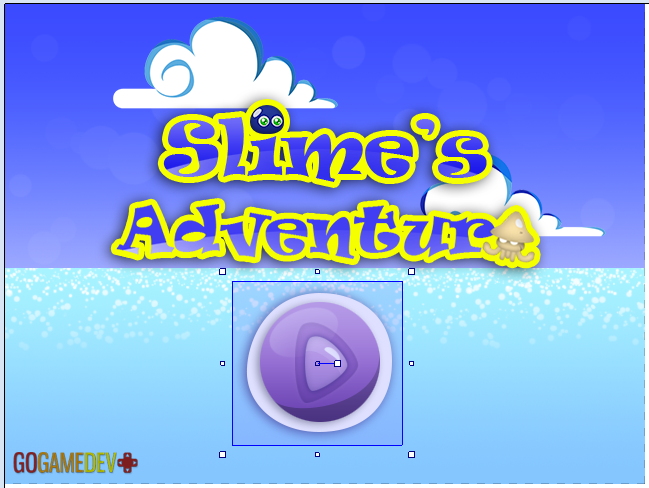
Position the logo to be center of the scene.
Now lock layer0 by click the lock icon next to it.
Create a new layer to store buttons and others by clicking the Plus (+) icon in the layers panel.
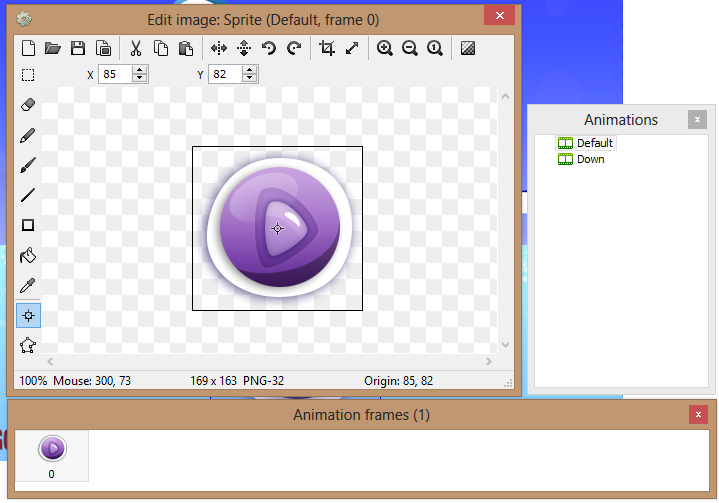
Make sure we are in Layer1, then create the Play button.
Our button is made from 2 images, the first one is for normal state of the button while the second is for when the button is pressed.
- Double-click on the space of the scene.
- Pick Sprite/Insert.
- Double-click the sprite we just created.
- Select all the Coin Frames/ Open
- Click the open icon, browse to image: PlayBtn_Up.png
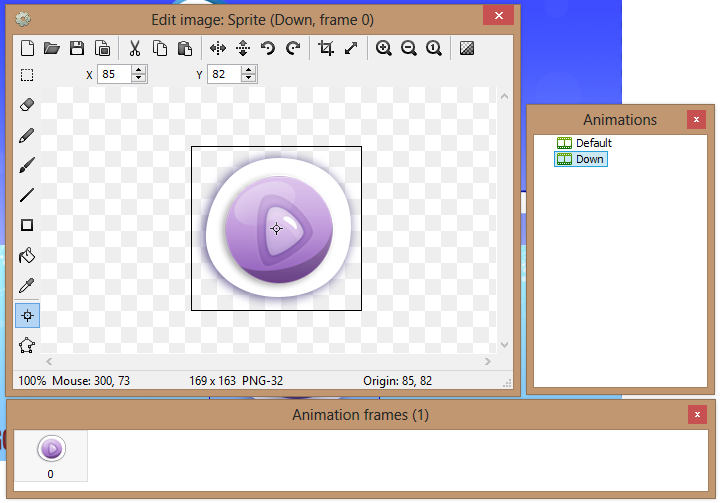
- In the Animations Panel, right-click and Add animation.
- Name it Down.
- Click on the Down animation in order to work on it.
- Click the open icon, browse to image: PlayBtn_Down.png
- Close Edit Image window.
- In Projects Panel, edit its name from Sprite to PlayBtn.
Position the button to be center of the scene below the logo.
Because we want the button to response from the mouse click. Therefore, we need to add Mouse object to our game.
- Double-click on the space of the scene.
- Pick Mouse/Insert.
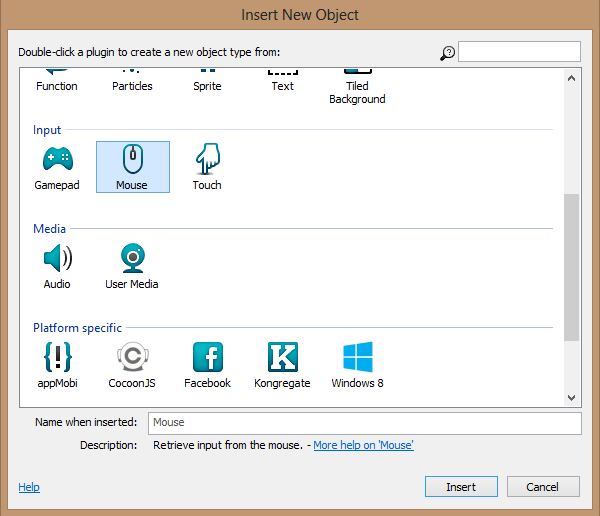
After doing that, we should have access to mouse behaviors in the Event Sheet.
[divider]
Step 2:
Create events for Main Layout.
Great, now we have a beautiful layout to show when we enter the game, but when we compile the project, the game will still run the Layout Level 1 first.
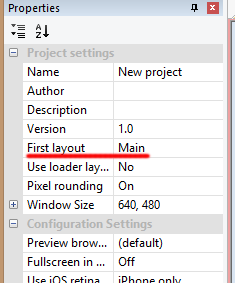
In order to fix it, click folder New Project in Projects panel.
Then in the Properties panel, change the first layout parameter to Main.
Now double-click Main ES in Projects panel to open Main event sheet.
Add the following events and actions to these event sheet.
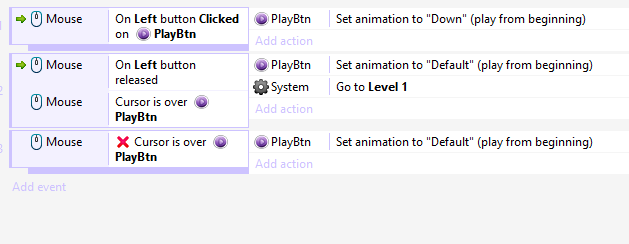
Update PlayBtn animation when clicked:
This event will change the PlayBtn to Down animation when click.
Event Condition:
- click Add Event.
- Click Mouse in the first pop-up window.
- Click On ojbect clicked in the next pop-up window.
- Pick Left for Mouse button.
- Pick Clicked for Click type.
- Click <click to choose> and click PlayBtn sprite.
- then Done.
Action Perform:
- Click Add action next to the On Life button Clicked on PlayBtn event.
- Pick PlayBtn then next.
- Find Set animation in the next pop-up window.
- Type “Down” for Animation.
- Pick beginning for From.
- Then Done.
Update PlayBtn animation when released:
This event will change the PlayBtn animation back to normal if when the mouse releases click while it is still on PlayBtn (will not run if the player drag the mouse out of the PlayBtn while the click is still being held.)
Event Condition 1:
- click Add Event.
- Click Mouse in the first pop-up window.
- Click On ojbect released in the next pop-up window.
- Pick Left for Mouse button.
- then Done.
Event Condition 2: (right-click the On Left button released/ Add another condition)
- Click Mouse in the first pop-up window.
- Click Cursor is over object in the next pop-up window.
- Click <click to choose> and click PlayBtn sprite.
- then Done.
Action Perform 1:
- Click Add action next to the On Left button released event.
- Pick PlayBtn then next.
- Find Set animation in the next pop-up window.
- Type “Default” for Animation.
- Pick beginning for From.
- Then Done.
Action Perform 2:
- Click Add action next to the Cursor is over PlayBtn event.
- Pick System then next.
- Find Go to layout in the next pop-up window.
- Pick Level 1 for Layout. (temporarily)
- Then Done.
Update PlayBtn animation when the cursor is out of PlayBtn:
This event will change the PlayBtn to default if the mouse is out of the PlayBtn (regardless it has been released or not).
Event Condition:
- click Add Event.
- Click Mouse in the first pop-up window.
- Click Cursor is over object in the next pop-up window.
- Click <click to choose> and click PlayBtn sprite.
- then Done.
- Invert it by right-click this event then click Invert. (the cursor is not over PlayBtn)
Action Perform:
- Click Add action next to the On Life button Clicked on PlayBtn event.
- Pick PlayBtn then next.
- Find Set animation in the next pop-up window.
- Type “Default” for Animation.
- Pick beginning for From.
- Then Done.
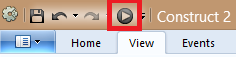
Now click Play on the top to test:
Check these features:
- Click and hold the PlayBtn and check if the animation is change to Down.
- While still holding it, drag the mouse/cursor out of the PlayBtn then release and check if the PlayBtn had switched back to normal.
- Normal left click the PlayBtn and check if the scene has switched to Level 1 Layout.
If nothing went wrong, we have finished half of today tutorial. 😀